Have you ever had a moment where for no reason at all, this amazing idea just pops into your head? I recently had a lightbulb moment for the first time in a long time and girl when I tell you I was hype?!
Over the years I’ve wanted to create something that celebrates black women in February/March but never knew what I wanted to make. Now, I know those months are long gone (Life sis. I’m getting it together though, I promise) but I still wanted to share this project with you guys cause over here, we celebrate black women every month!
What led to my lightbulb moment?
How did we get here? Take a virtual walk with me down memory lane:
So as any crafter knows you unlock real deal potential to make amazing things if you have a Cricut. I’ve been using my Cricut Maker a lot lately and I was brainstorming about how I could experiment with features I haven’t used yet. I already had an idea for fashion content and I knew my Maker could cut fabric but I had yet to experiment with it for fabric crafts. If you read my Vison Book post you’d know that I included a few projects that I wanted to venture into. Purses were one of them. With all of these components my brain went:
Vision board- purse
Curiosity with Cricut- cutting fabric
BHM/WHM- Black women shilouettes
Thus, the black woman’s history bag! (Name pending, this sounds a little too clunky for my liking but we move).
The Art
With the help of some inspo pics, I got my iPad out and got to drawing using the sketchbook app. Growing up I was surrounded by black art, and some of my favorite pieces were paintings of black women’s silhouettes. Wrapped in Ankara, carrying water jugs, embracing their curves. When I think of black women, I think of those paintings. So it was only right that my bag reflected that.
What You’ll Need
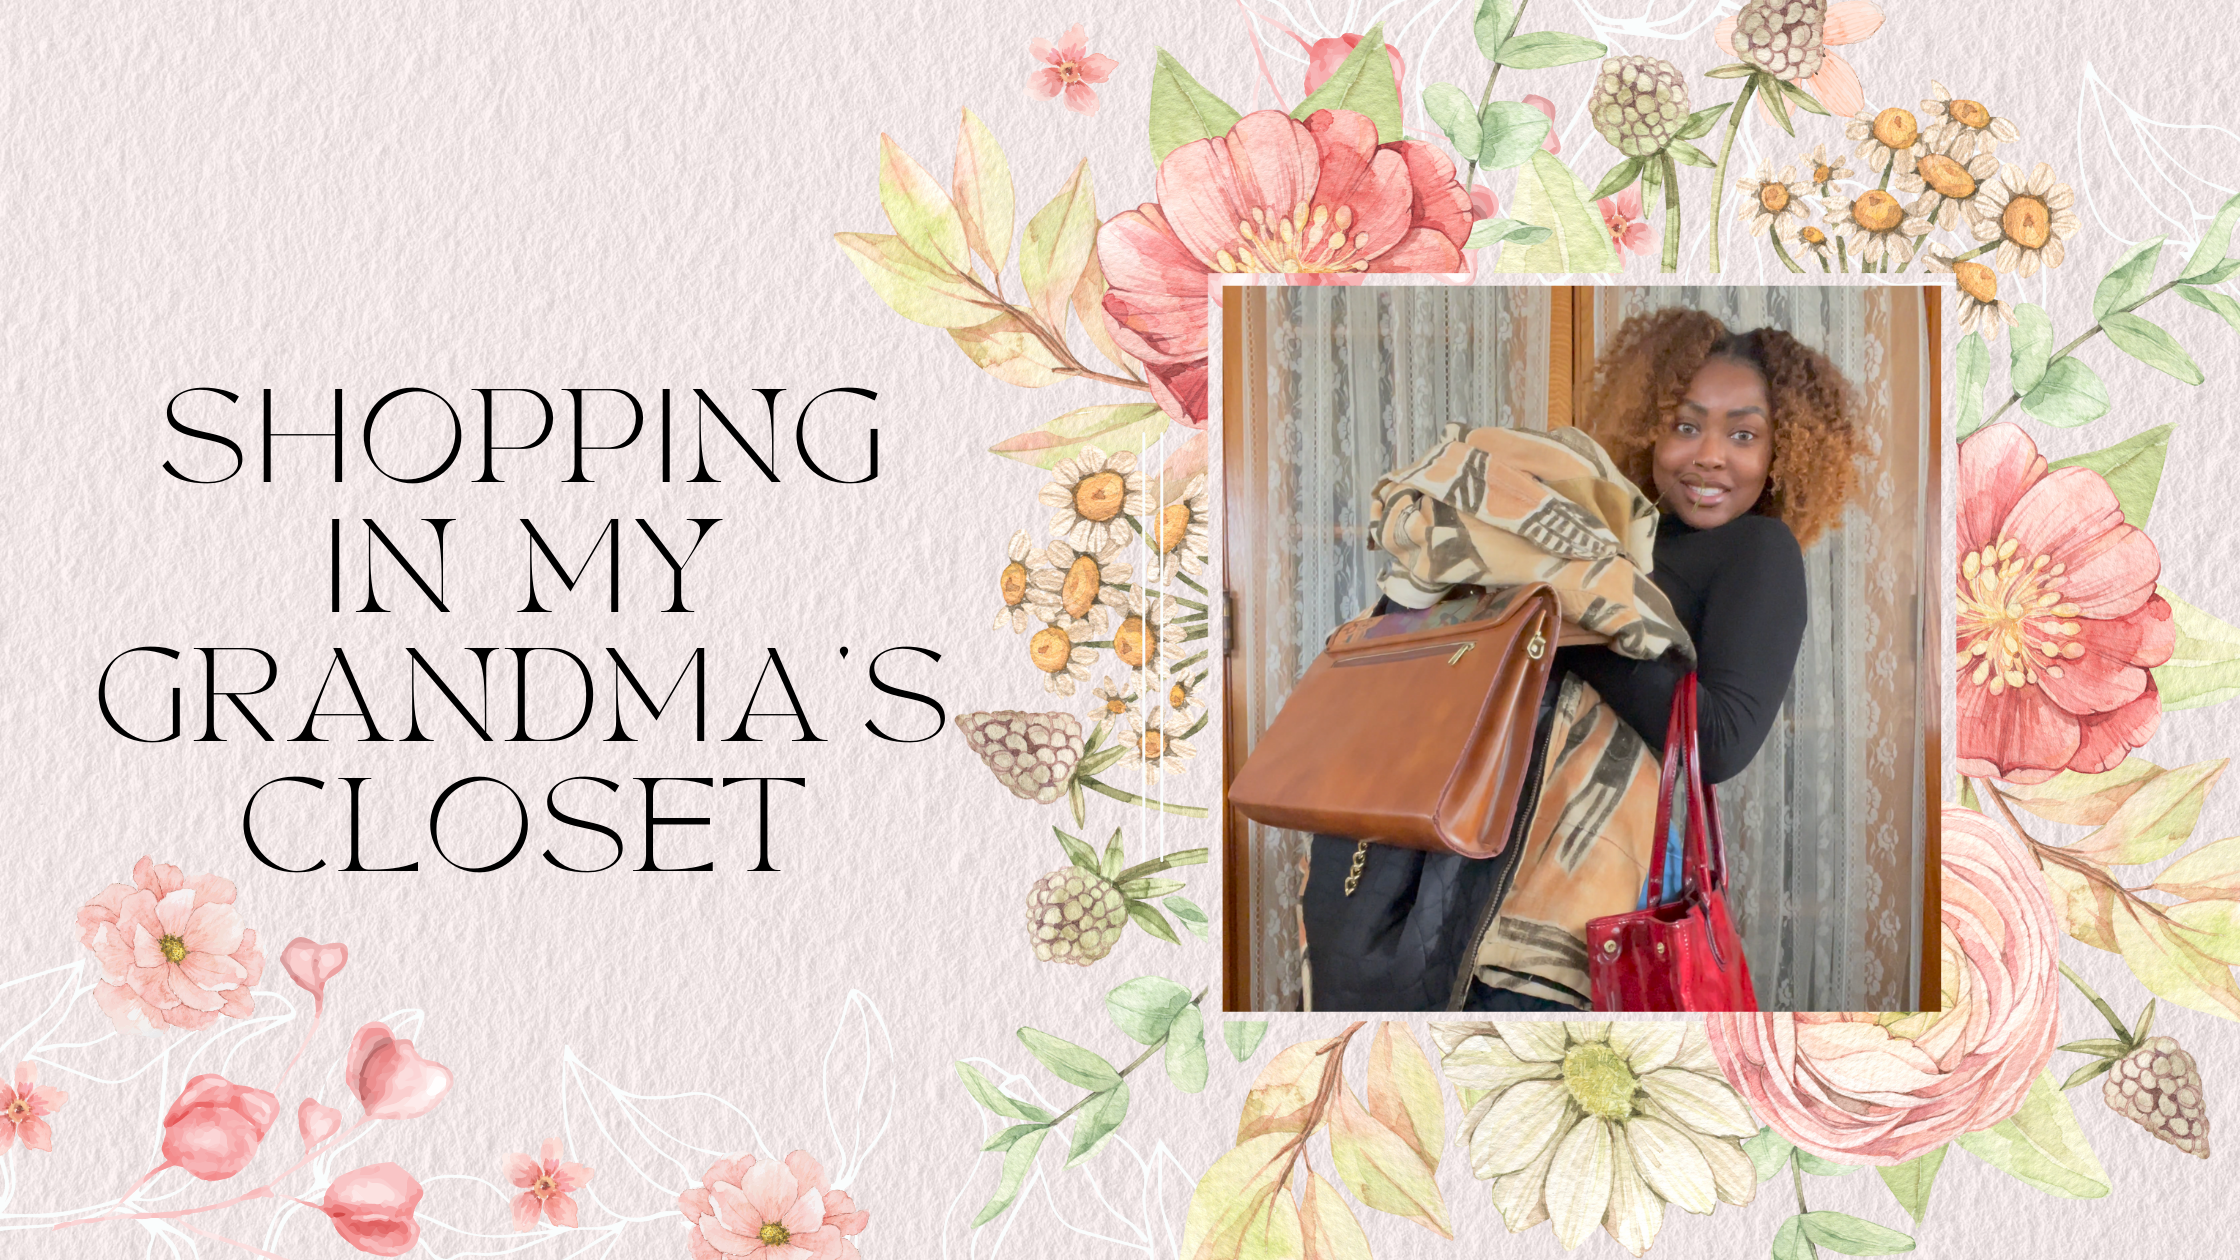
I had some pleather on hand that I actually planned to use to make a purse, so it was perfect! With the help of the haul of items I raided from my grandma’s closet (thanks again girl!), I had a tote that was the perfect fit for this piece!
We got the purpose and concept, let’s talk materials.
Here are the things I used for the bag:
- Tote Bag
- Pleather/ Faux leather
- 3600 Glue
- Tweezers
- Clamps
- Tape
- Cricut
Making the bag
Alright, so how do you make the bag?
First, you’ll need your image cut out. As I mentioned before I sketched the image using the sketchbook app on my Ipad but you can use a preexisting cut file. If you’re sketching your image make sure you export it with your background transparent!
Once you have your image you’ll need to import it to Cricut design space and size it to your liking. You’ll want to make sure that your image isn’t too small so that you have an easier time applying it to your bag. I wanted to have my women repeating so I also doubled my image after making it to scale.
How to Cut Faux Leather on the Cricut
Next, we cut the fabric. I’ve seen conflicting statements on how to properly cut faux leather: Do you put the material face up or down? What mat do you put it on? Which blade do I use to cut it out? What cut settings and pressure do I use?
If you have any of these questions I’m here to put you at ease; when in doubt test it out. The great thing about being a creator/maker is that you do what works best for you. What works for some people doesn’t work for others, so feel free to experiment. I had to test things out to figure out how to go about cutting it, and here’s how I did it.
First I used a green mat that’s been slightly used. I did this because I’m putting my faux leather face down and wanted to make sure there was no residue. I wouldn’t recommend using a new mat if you’re going to put your faux leather face down. You can also use tape to keep it in place if you’re concerned about it moving on the mat. I didn’t have that issue I simply went over my piece with a roller and it was fine.
***Alternatively to save time, you can try putting transfer tape on the mat sticky side up, and then stick your pleather face side down. That way you can apply the glue directly to the mat, pick it up and directly apply it to your bag (Which saves a ton of time bc you won’t have to individually apply each piece). But of course, do a test cut first.
Cut Settings
Next, cut settings. My pleather was around .5cm so I used the Faux Leather (Paper Thin) setting on standard pressure.
***Don’t forget we put the faux leather face down so we have to mirror our image.
Once we have our faux leather cut out, we have to finish preparing it by ensuring the leather is the same color on the sides. When I cut mine I noticed that the white from the wrong side of the fabric was peeking out, so I used a sharpie to go around the edges so you only see black. I found this being the easiest by applying the sharpie while the appliqué is still on the mat.
Prepping The Bag
Next, I prepped my bag. To prep my bag, I simply wiped it with alcohol and used a lint roller to make sure there was no debris.
Now we’re ready to apply!
Applying the applique
Apply your appliqué to your bag as it follows your SVG image. I use the residual piece of pleather that I cut from as a guide to spacing.
I used a metal skewer to apply the glue and tweezers to apply the faux leather. This is a tedious job so make sure you have a movie or show to binge.
To keep everything in place, use clamps and tape.
Once applied, I let my bag sit and cure for 24 hours.
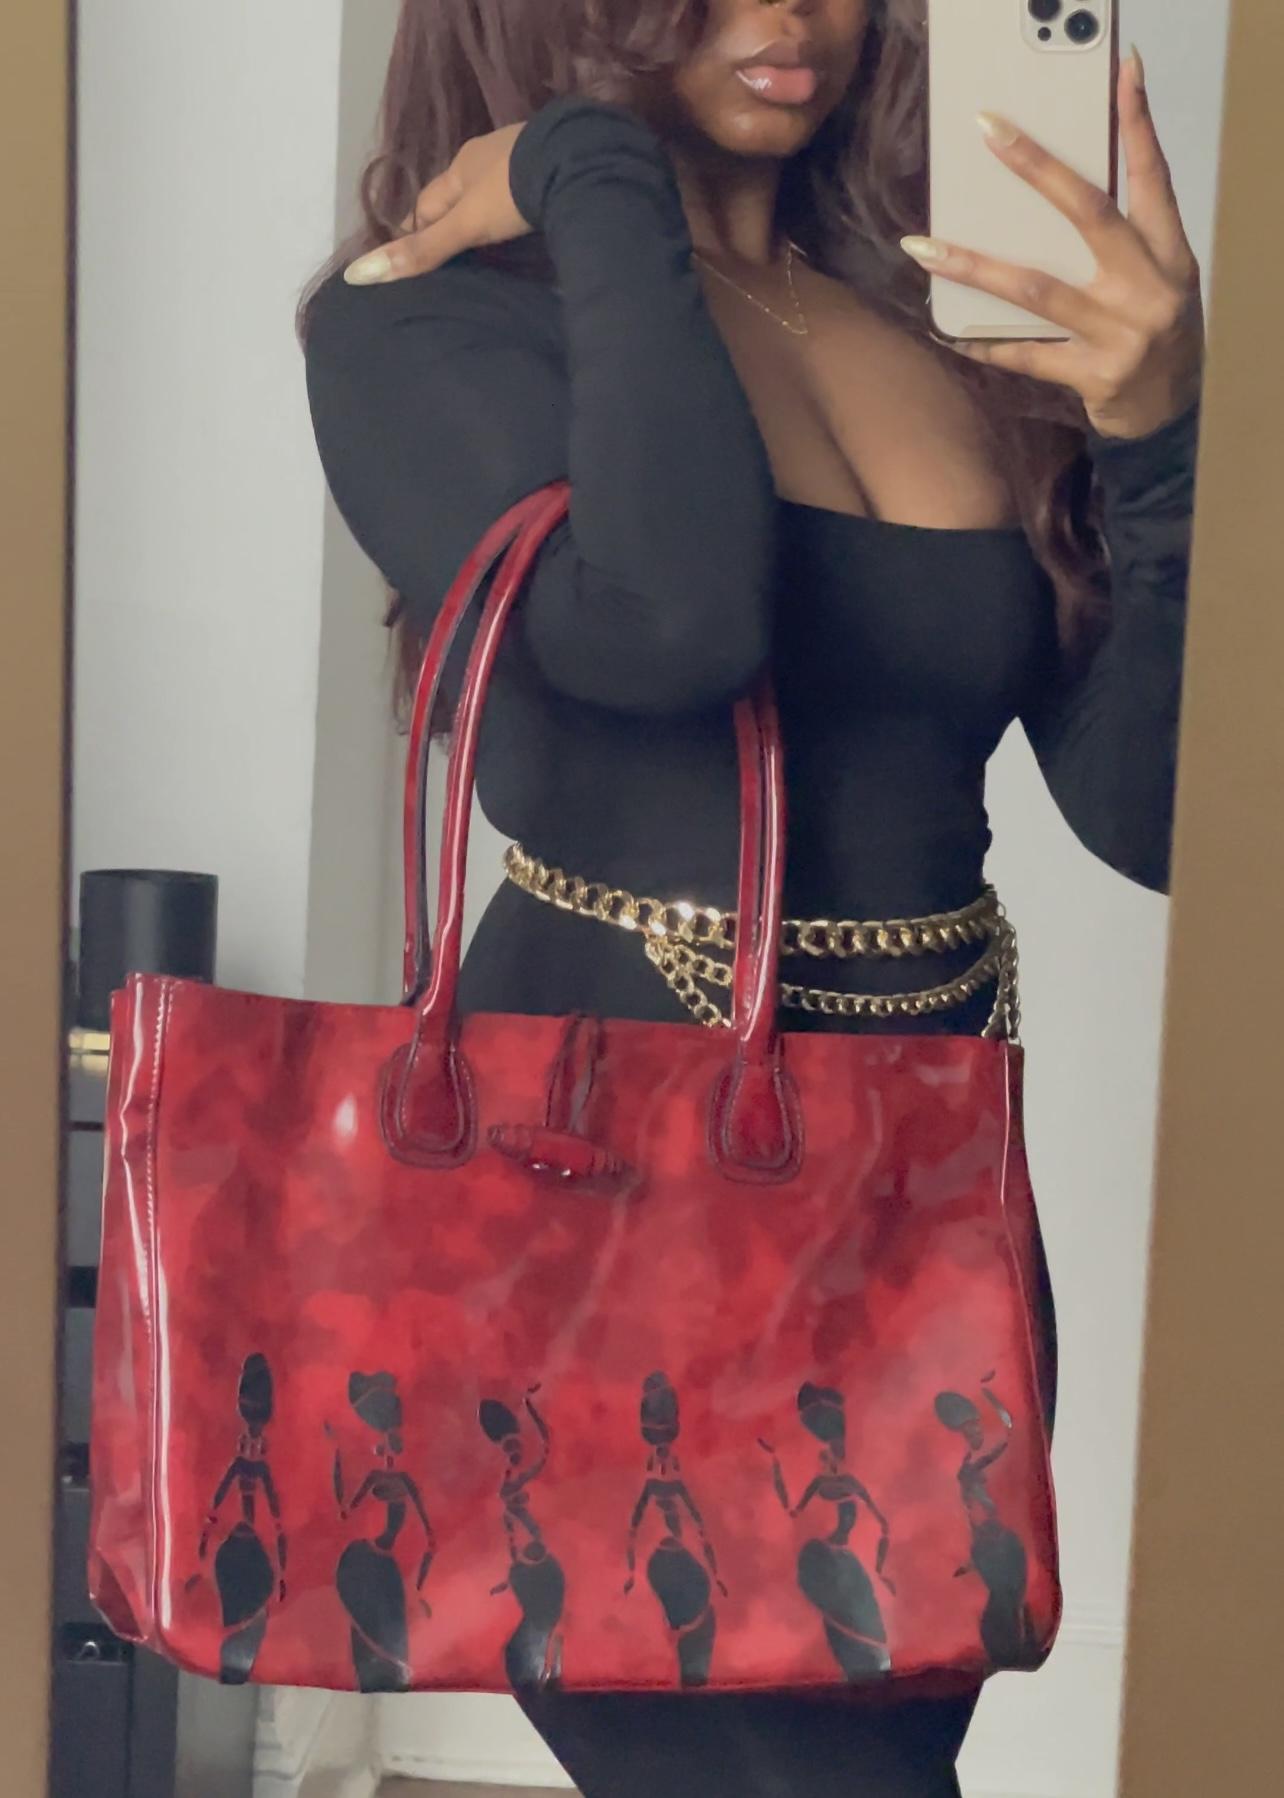
Then you’re done! You are now the owner of a unique custom bag with leather appliqués. This technique could be used for any material the Cricut can cut and that can adhere to your bag. If you give this a try tag me in your pics because I want to see it!! Any questions can be left in the comments. See you next post!
FTC Disclosure: This post or video contains affiliate links, which means I may receive a commission for purchases made through my links at no extra cost to you. Thank you for your support!